Student Management
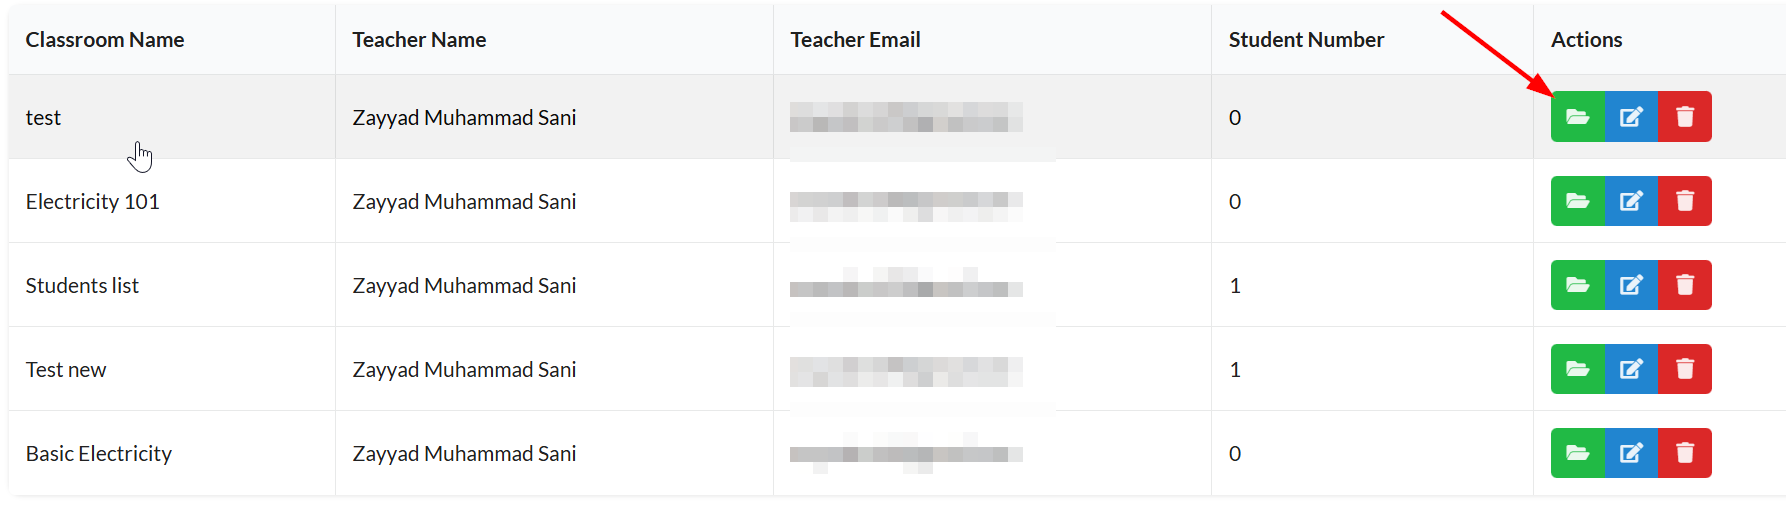
To use student management features, you'll need to open the classroom you want to work with.
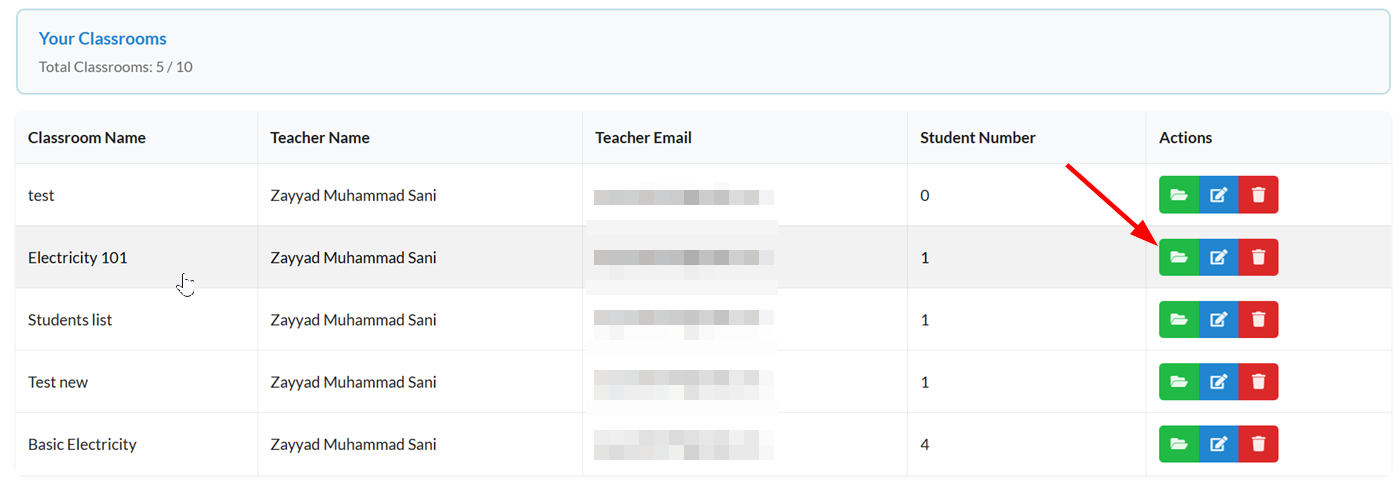
Click on the classroom's name or the folder icon on the same row.
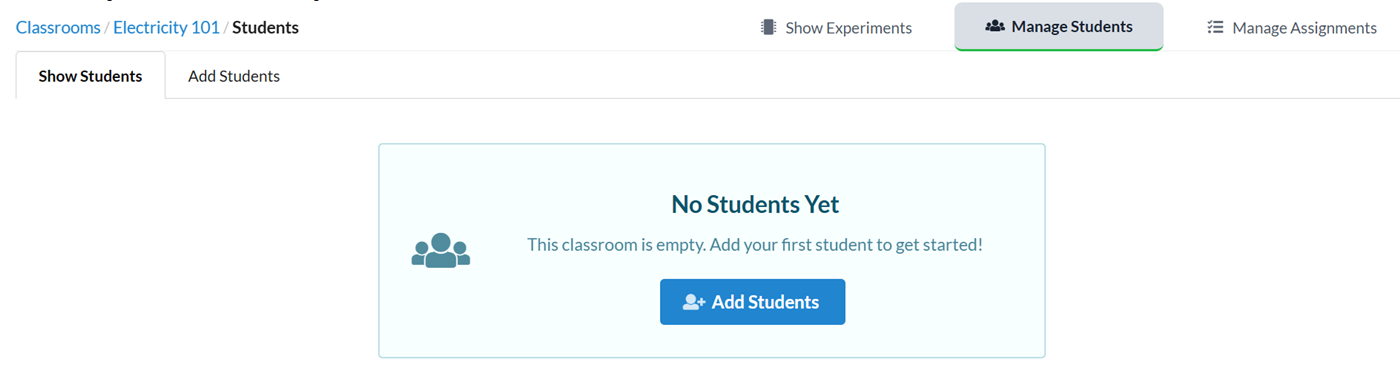
Once the classroom opens, click the Manage Students tab.
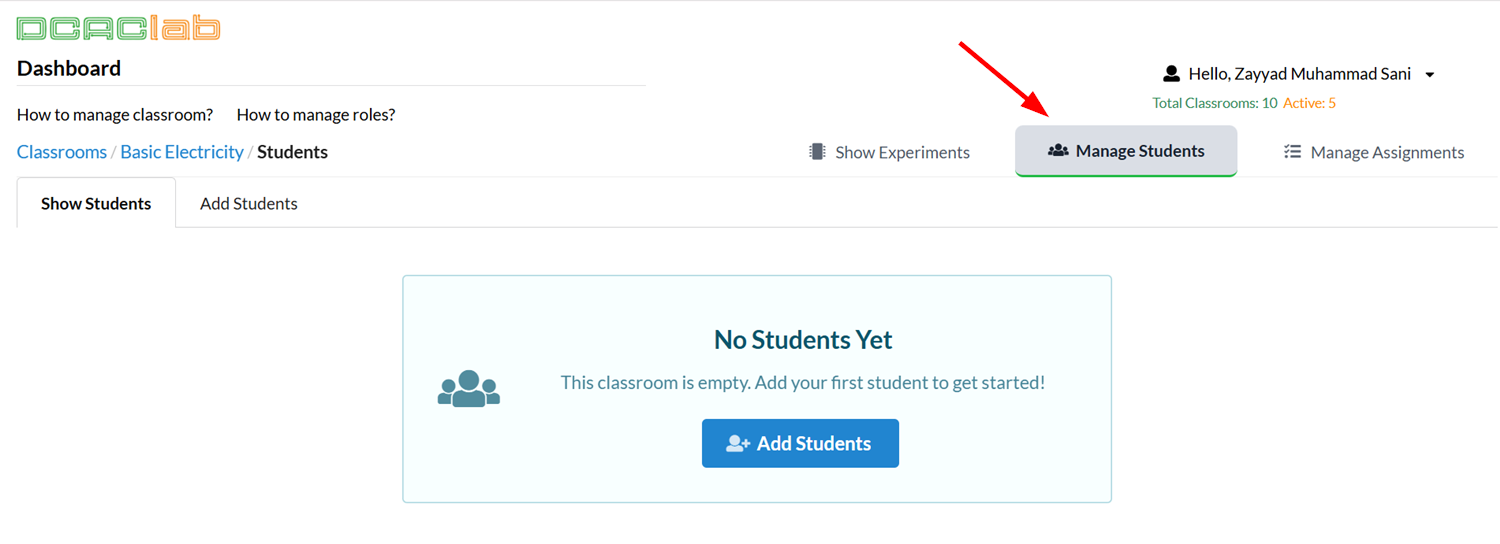
You're now set to manage students.
Adding Students
The number of students you can add to a classroom depends on your subscription plan. You can contact us to increase the limit.
DCACLab offers two methods of adding students to a classroom:
- Enrolment link: The teacher shares a URL to students which enrols them in the specific classroom when visited.
- Bulk creation: The teacher creates multiple accounts for students at once.
Read the following sections for a step-by-step guide on using the two methods.
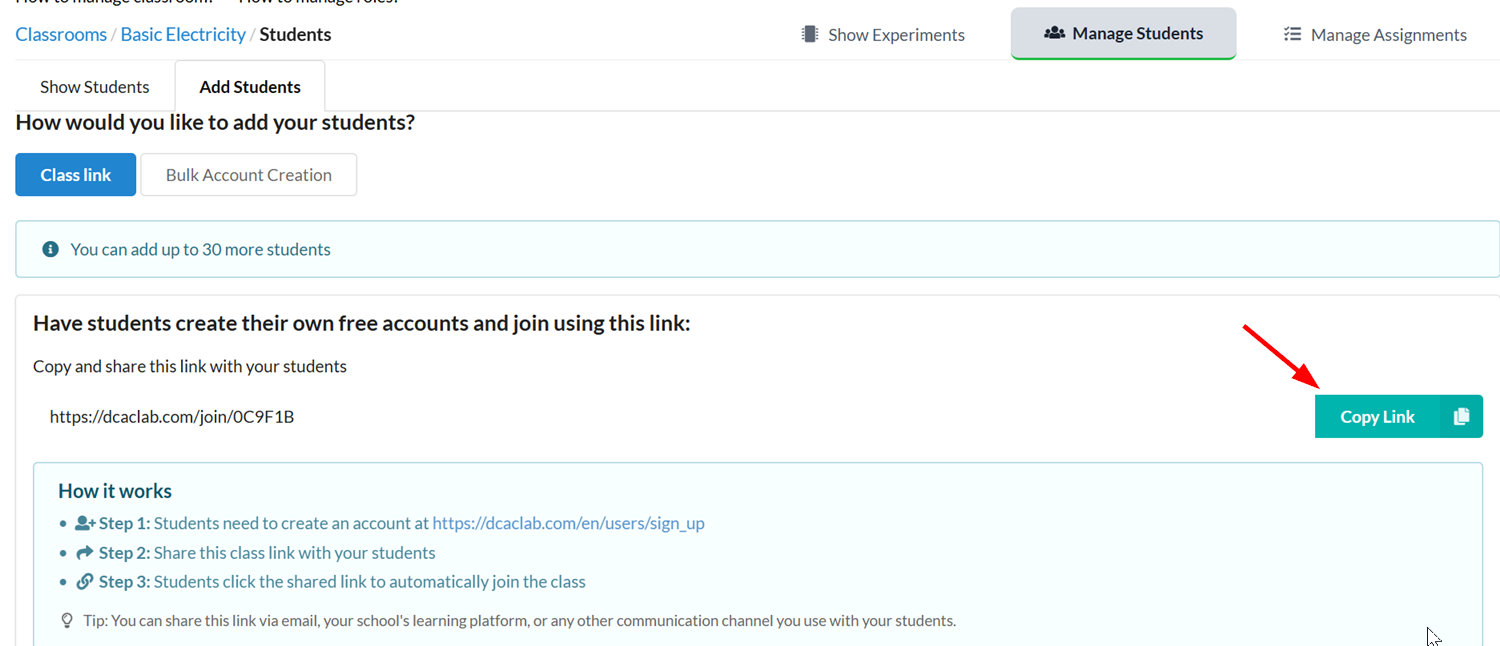
Enrolment Link
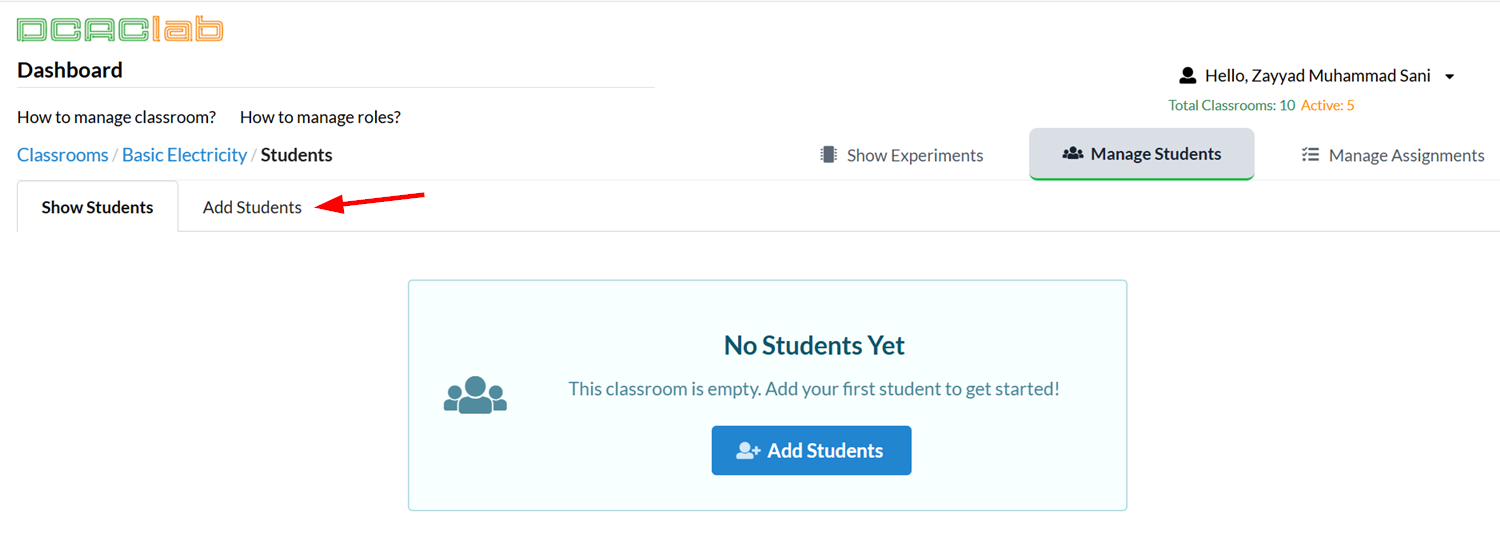
- Click the Add Students tab or the Add Students button in the middle of the screen.
-
Ask your students to sign up for DCACLab at https://dcaclab.com/users/sign_up.
-
Click Copy link, then share the enrolment link with your students.
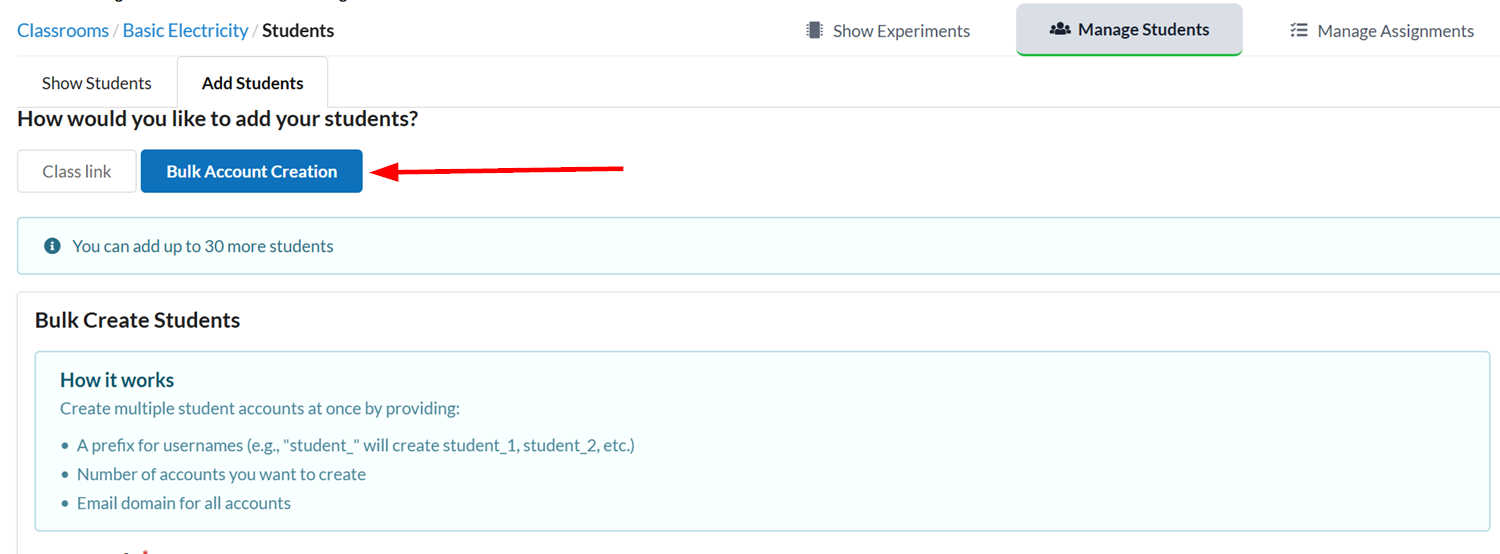
Bulk Account Creation
On the Add Students tab, click Bulk Account Creation.
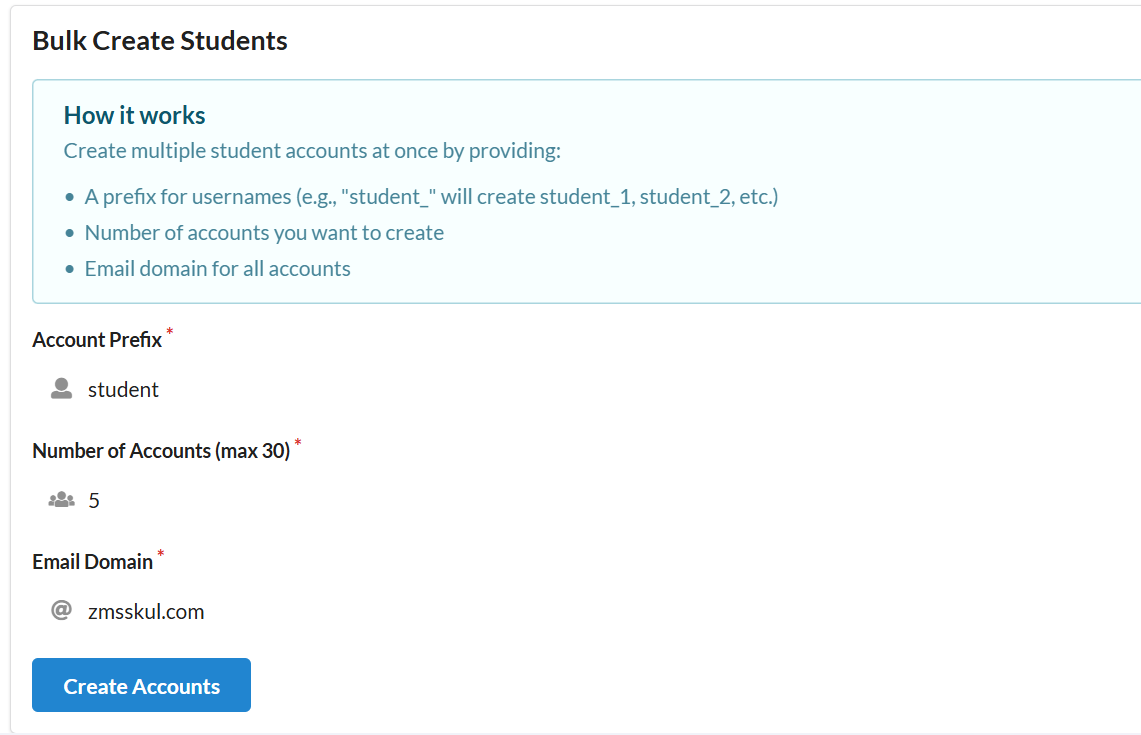
Before we continue, here's an explanation of the fields you need to fill out:
- Account prefix: A prefix for the usernames of the accounts to be created. For example, if you enter "student" and create 5 accounts, the usernames will be "student1", "student2", "student3", "student4", and "student5".
- Number of accounts: The number of student accounts to create.
- Email domain: The domain to use for the email addresses of the accounts. For example, if you enter "school.edu" and the username is "student1", the email address will be
student1@school.edu.
Proceed to fill out the fields:
-
Enter an account prefix.
-
Enter the number of accounts to create. Note that you cannot exceed the maximum number of students allowed in your subscription plan.
-
Enter an email domain.
-
Click Create Accounts.
You should see a message saying "Students created successfully".
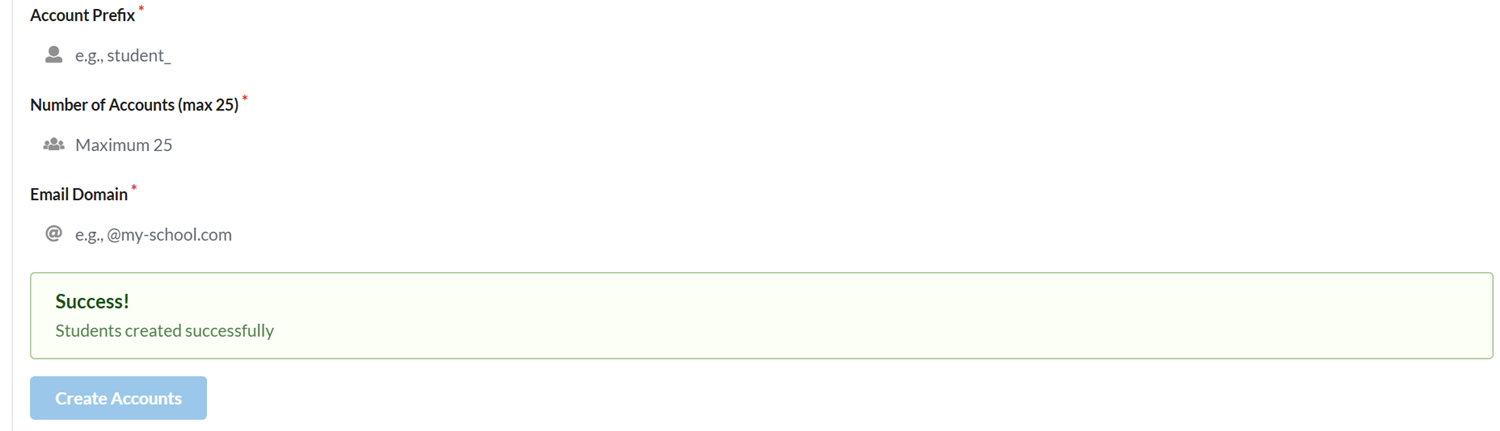
Scroll up and click the Show Students tab to view the newly created student accounts.
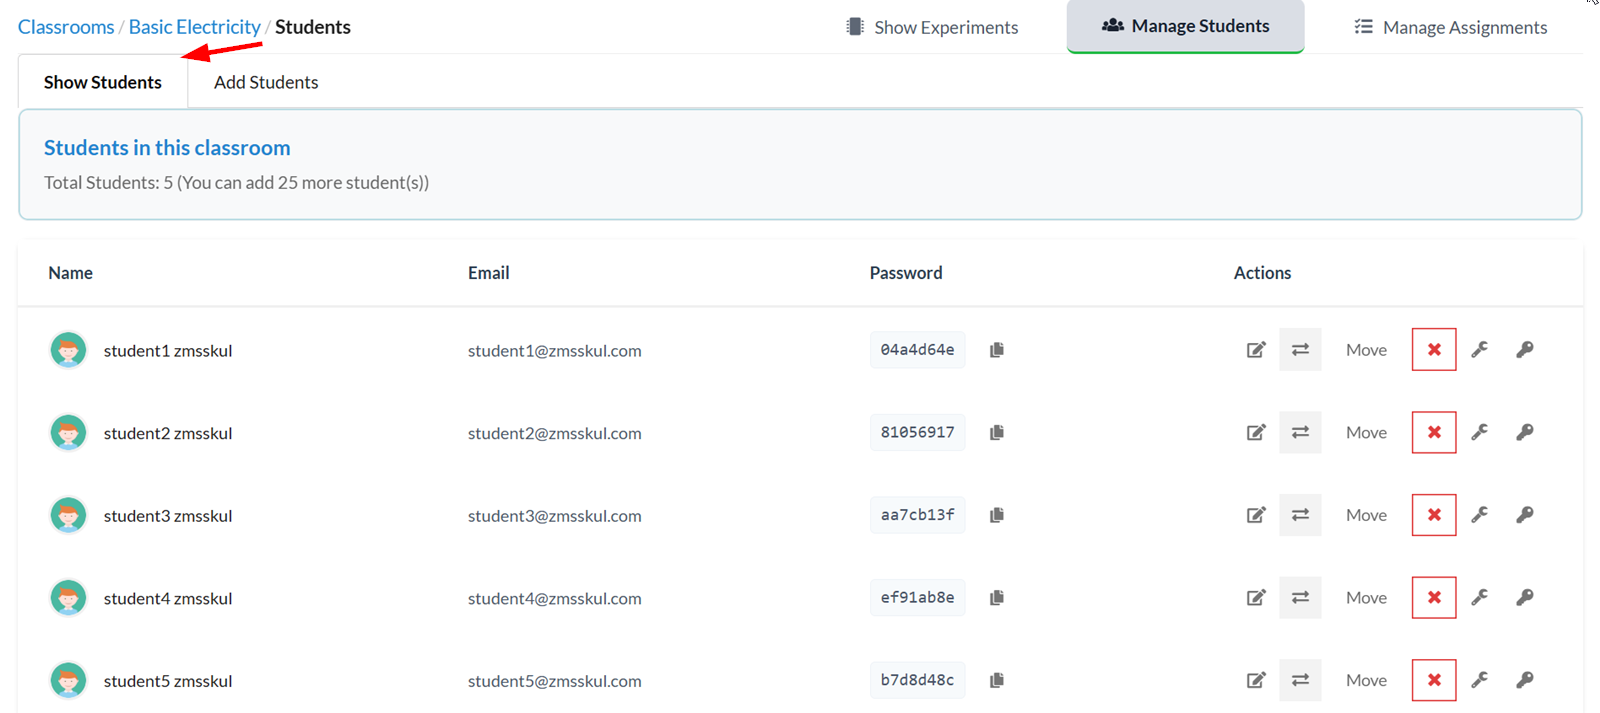
You can now share the login credentials with your students.
Changing Student Names
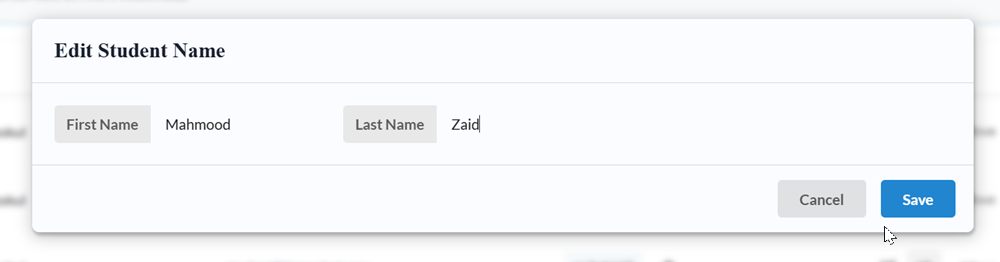
- On the Show Students tab, click the Edit icon on the row of the student whose name you want to change.
![]()
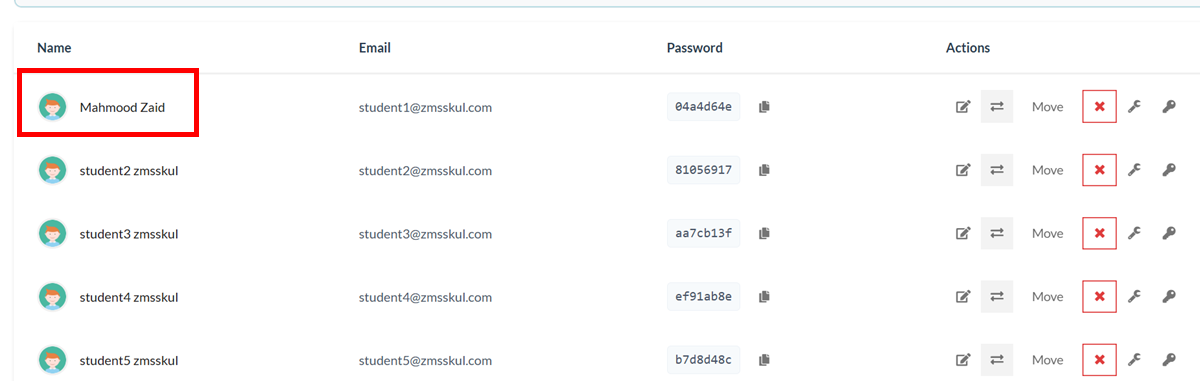
- Change the First Name and Last Name, then click Save.
The student's name should be updated in the list.
Changing Student Passwords
Change to a Specific Password
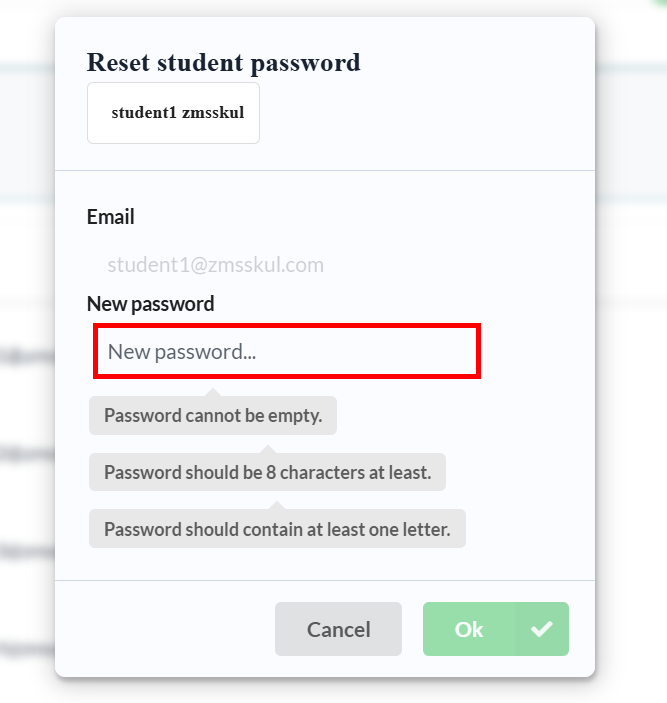
- Click the wrench icon on the row of the student whose password you want to change.
![]()
- Enter the password under the New Password field. Make sure the password is at least 8 characters long, and contains at least one letter. Click Ok when you're done.
You should see the updated password on the student's row.
Generate a new Random Password
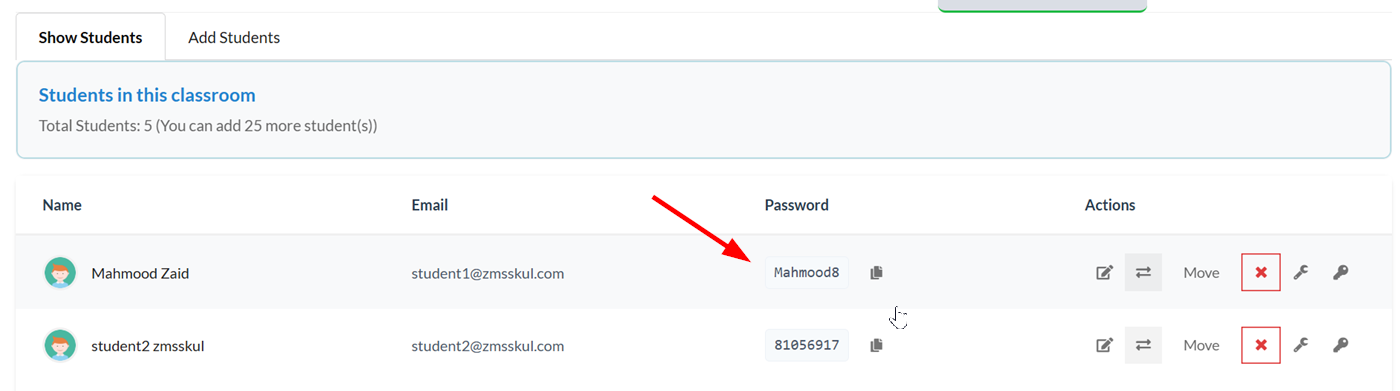
- Click the key icon on the row of the student whose password you want to change.
![]()
- A confirmation dialog will appear asking if you want to continue. Click Ok.
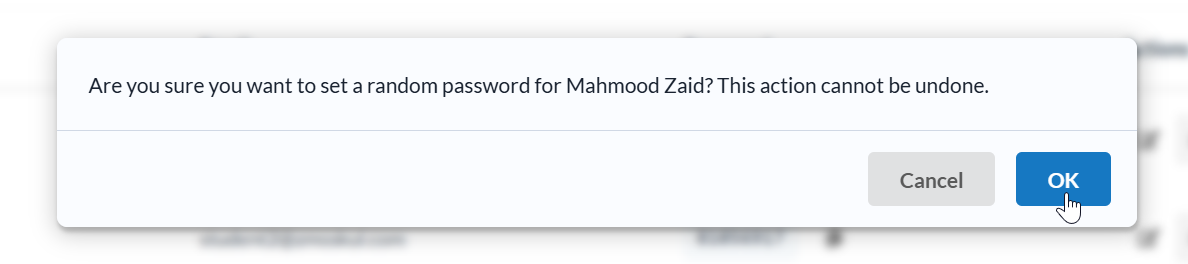
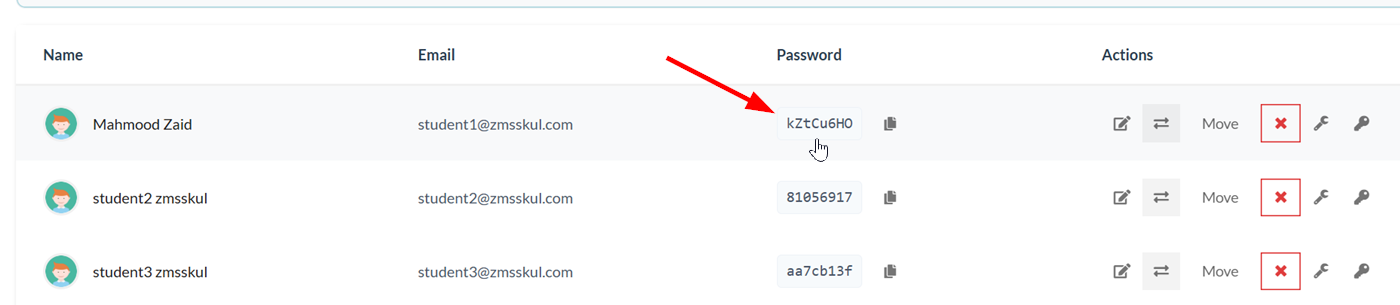
You should see the newly generated password on the student's row.
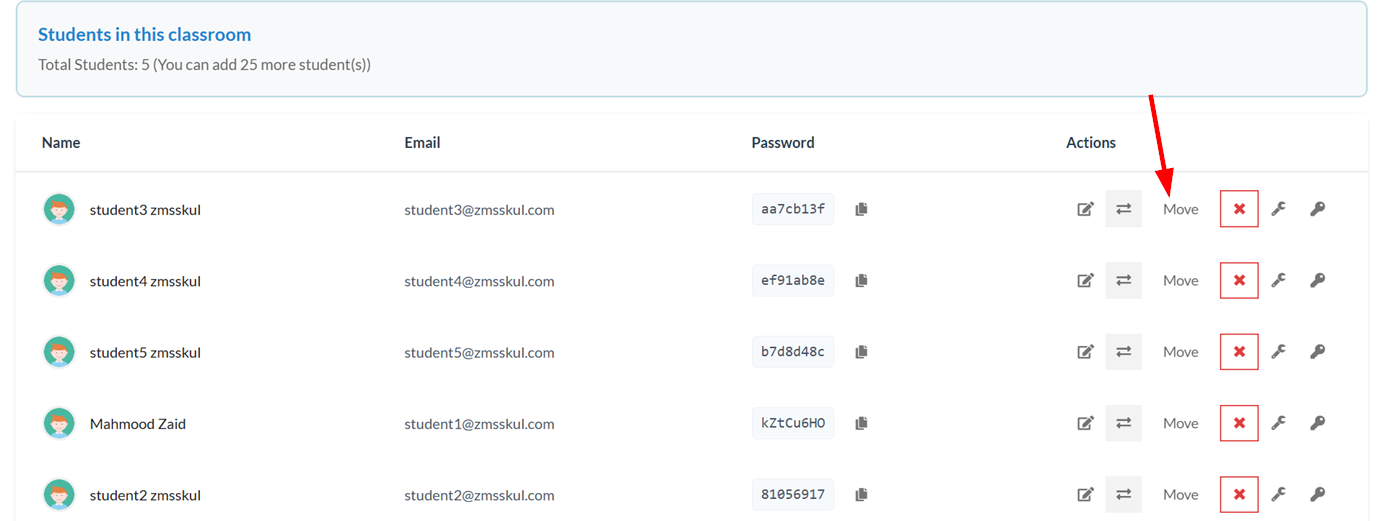
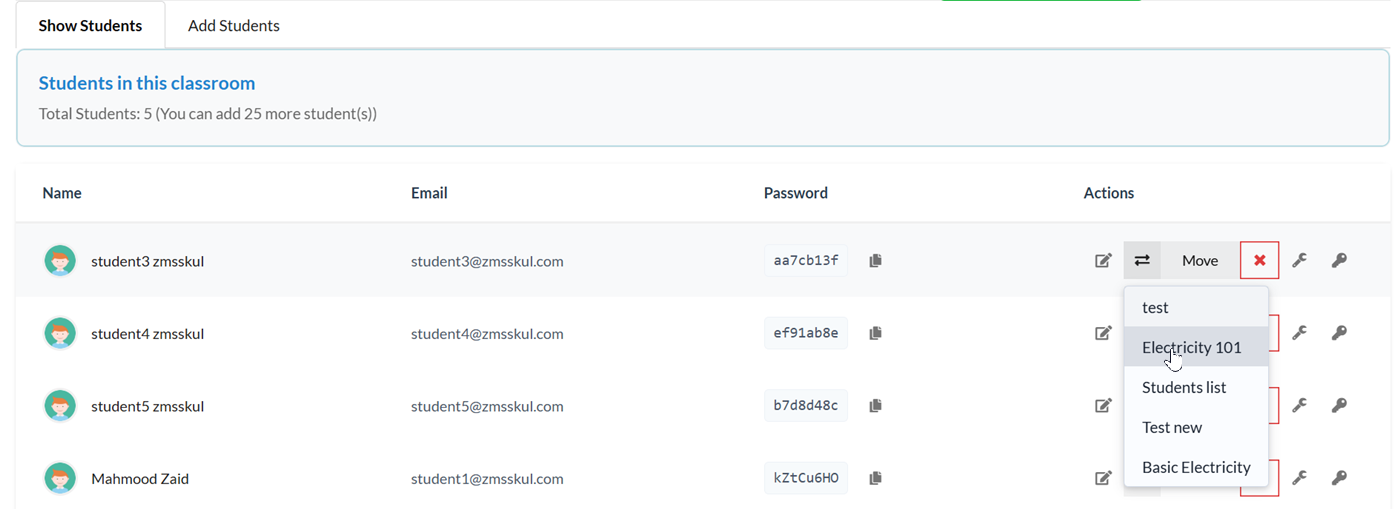
Moving Students Between Classrooms
- Click the Move button on the row of the student you want to move.
- A dropdown will appear showing the list of classrooms. Click on the classroom you want to move the student to.
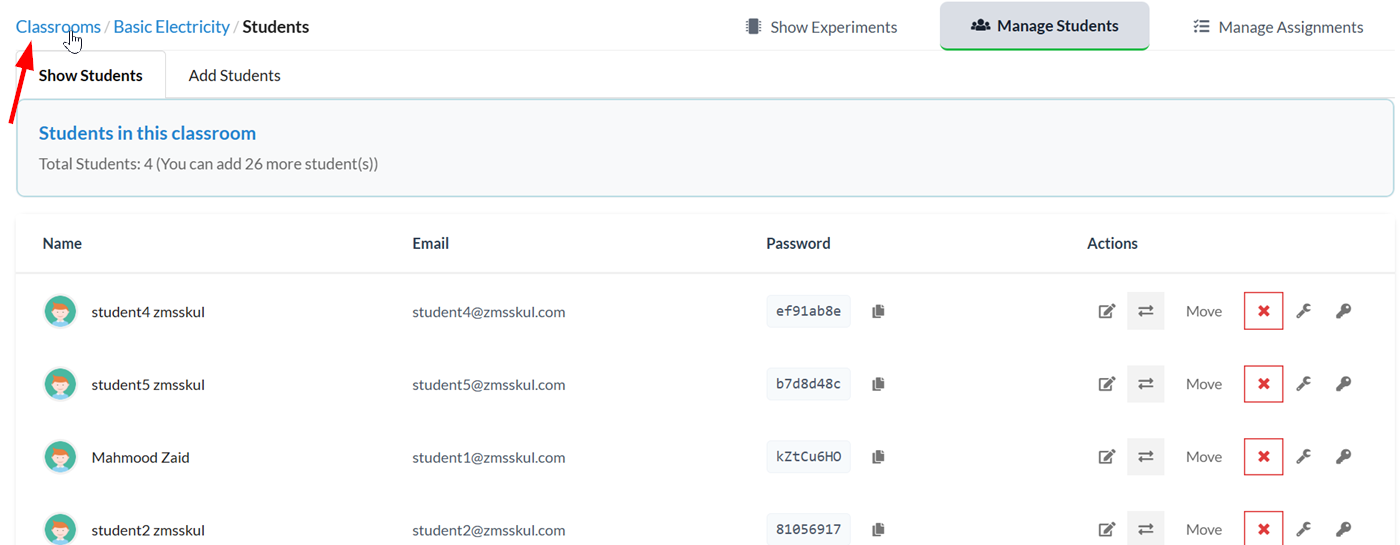
The student should be removed from the list and you can check the classroom you chose to confirm the student has been moved.
- Click the Classrooms link near the top-left corner to go back to the classrooms list.
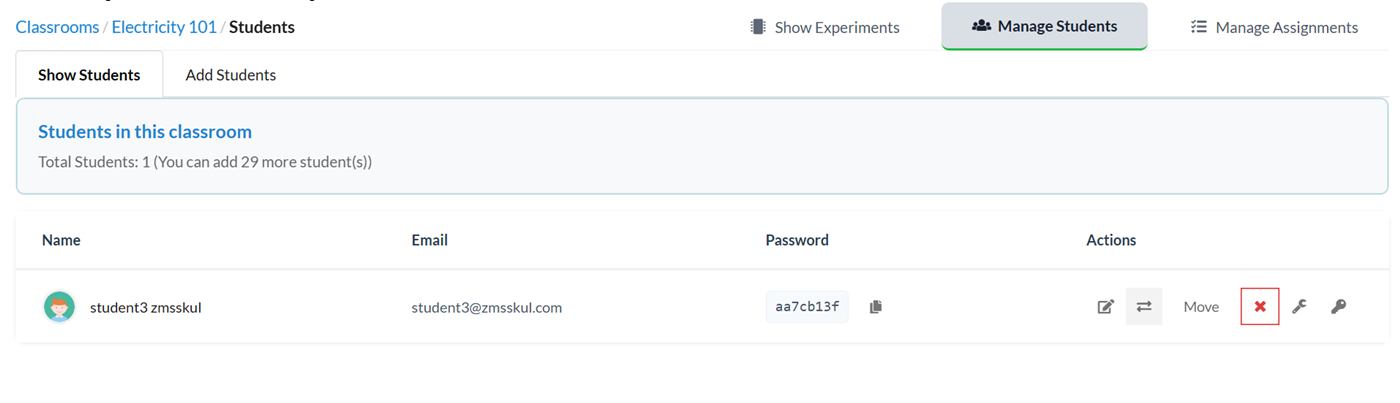
- Open the target classroom by clicking on its name or the folder icon on the same row.
- Click the Manage Students tab and you should see the student in the list.
Deleting Students
- On the Show Students tab, click the cancel icon on the row of the student you want to delete.
![]()
- A confirmation dialog will appear asking if you want to continue. lick Ok to delete the student.
The student should be removed from the list.